




 en
en


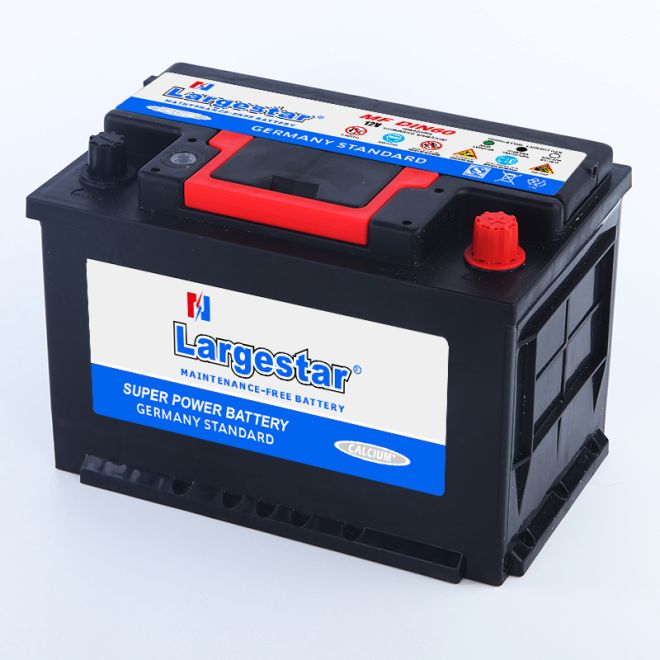
Every time you look at your JUST POWER BATTERY, you imagine sparks, blown fuses, and your neighbor filming the chaos “for safety reasons.” Wiring it yourself feels like defusing a bomb with a YouTube degree.
This guide turns that drama into a calm, step‑by‑step install, backed by clear safety tips and real standards from the NFPA electrical code, so you connect everything correctly, protect your home, and keep the lights (not the fireworks) on.
🔋 Preparing Your Workspace and Tools for Safe Battery Installation
Set up a clean, dry, and well‑ventilated area before installing any JUST POWER BATTERY. Good preparation lowers risk and helps you work faster and safer.
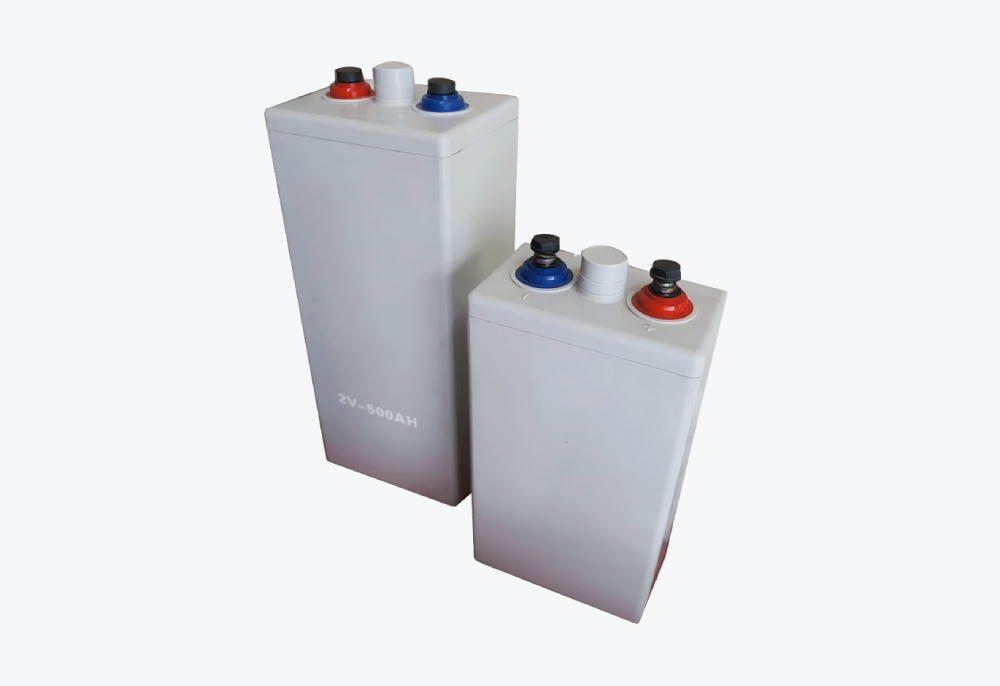
This guide applies whether you install large backup units like an OPZS3000 2V 3000Ah OPZS Series Battery or compact systems for home and emergency use.
1. Clear and Level Work Area
Keep the floor level and free of water, oil, or tools. A stable surface supports the battery weight and prevents slips while you move or lift units.
- Remove clutter and loose cables.
- Ensure good lighting around the install spot.
- Keep children and pets away from the area.
2. Gather the Right Tools
Prepare all tools in advance so you do not leave live terminals exposed while searching for equipment during the installation process.
- Insulated wrenches and screwdrivers
- Multimeter or voltmeter
- Cable ties and terminal covers
- Manufacturer’s installation manual
3. Personal Protective Equipment (PPE)
Always protect your eyes, hands, and clothing from sparks or electrolyte. Simple safety gear greatly reduces the chance of injury.
| Item | Purpose |
|---|---|
| Safety glasses | Shield eyes from sparks and dust |
| Insulated gloves | Reduce shock and burn risk |
| Cotton clothing | Better protection than synthetics |
4. Check Ventilation and Fire Safety
Good airflow prevents gas buildup and heat. Always keep basic fire safety gear nearby when working with power systems.
- Open vents or windows near the battery rack.
- Keep a Class C fire extinguisher close.
- Do not smoke or use open flames nearby.
🧰 Step-by-Step Instructions for Removing the Old Battery Safely
Remove the old battery slowly and in the right order. This prevents sparks, short circuits, and damage to cables, fuses, or powered devices.
Always read the maker’s guide first and follow local electrical safety rules before touching any terminals or metal tools.
1. Power Down and Isolate the System
Switch off chargers, inverters, and loads before you touch the battery. Isolation keeps current from flowing while you disconnect cables.
- Turn off main AC input.
- Shut down DC loads in order.
- Verify with a meter that voltage is near zero.
2. Disconnect Cables in the Correct Order
Always remove the negative cable first, then the positive. This simple rule greatly reduces the chance of a short with your tools.
| Step | Action |
|---|---|
| 1 | Remove negative (-) cable |
| 2 | Remove positive (+) cable |
| 3 | Label each cable for re‑install |
3. Lift and Move the Old Battery
Big batteries are heavy. Use correct lifting methods or equipment to avoid back injuries and prevent dropping the unit on the floor.
- Use two people or lifting tools for large units.
- Keep the battery upright at all times.
- Place it on a pallet or non‑conductive surface.
4. Disposal and Recycling Data Overview
Recycling old batteries protects the environment. The chart shows a simple comparison of common battery types and their typical recycling rates.
⚡ Correctly Connecting Positive and Negative Terminals to JUST POWER BATTERY
Follow the right order when connecting your new JUST POWER BATTERY to avoid shorts, sparks, or damage to sensitive devices and wiring.
1. Inspect Terminals and Cables
Check that all posts and lugs are clean, dry, and tight‑fitting. Replace worn or cracked cables before you connect the new battery.
- Clean light corrosion with a proper brush.
- Ensure lugs match the battery post size.
- Do not use damaged or melted cables.
2. Connect Positive First, Then Negative
Place the positive cable on the positive (+) terminal first. After it is tight, connect the negative (–) cable to the negative terminal.
| Order | Connection |
|---|---|
| 1 | Positive cable to + terminal |
| 2 | Negative cable to – terminal |
3. Verify Voltage and Polarity
Use a meter to confirm the correct voltage and polarity before powering any load. This protects devices and confirms a solid installation.
- Red probe to positive, black to negative.
- Check reading matches battery label.
- Correct any reversed cables at once.
🧯 Essential Safety Checks Before Powering Up the Installed Battery
Complete a quick safety checklist before you power the system. This reduces fire risk and prevents damage to your new battery bank.
1. Visual Inspection and Tightness
Look for loose hardware, exposed copper, or pinched cables. Gently pull each cable to confirm it is firmly locked on the terminal post.
- Check every nut and bolt for snug fit.
- Confirm no tools are left in the battery tray.
- Ensure terminal covers are in place.
2. Temperature and Ventilation Check
Feel around the battery area for heat sources. Make sure vents are open so the system can breathe during charging and discharging.
| Item | Check |
|---|---|
| Airflow | No blocked grills or vents |
| Nearby devices | No heaters or open flames |
| Battery case | No swelling or leaks |
3. Initial Low-Load Power-Up
Power the system with a small test load first. Watch voltage and temperature for a few minutes before you add the full system demand.
- Turn on one or two small loads only.
- Monitor voltage drop at the terminals.
- Increase load step by step if all is stable.
🛡 Routine Inspection and Maintenance Tips to Keep JUST POWER BATTERY Safe
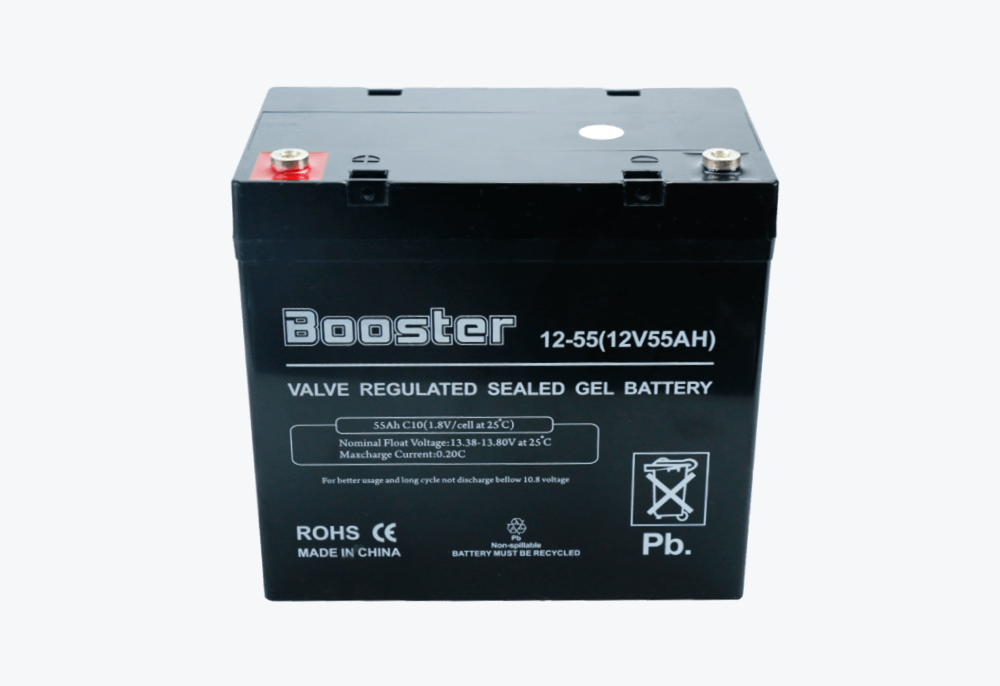
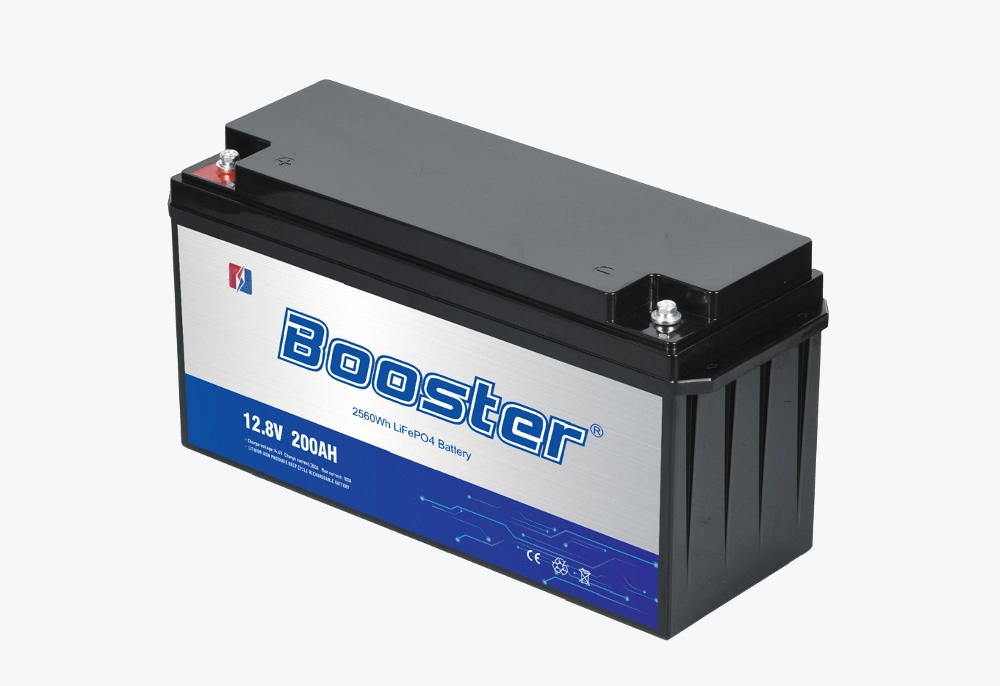
Regular checks extend battery life and keep your JUST POWER BATTERY system safe, whether it is lead‑acid, VRLA, or LiFePO4 technology.
1. Monthly Visual and Voltage Checks
Inspect the case, terminals, and cables every month. Take basic voltage readings to catch weak cells before they cause a failure.
- Look for cracks, bulges, or stains.
- Clean light dust with a dry cloth.
- Log voltage values for trend tracking.
2. Charging Rules for Different JUST POWER Models
Use the right charger profile for each battery type to avoid under‑ or over‑charging, which can shorten runtime and reduce lifespan.
| Battery Type | Key Tip |
|---|---|
| LiFePO4 Battery 12.8V 100AH Deep Cycle Lithium Ion Battery | Use a LiFePO4‑specific charger |
| 12V5Ah VRLA Small Size Emergncy Battery | Keep on float for standby use |
3. Annual Professional Inspection
For larger backup banks, schedule a yearly check by a trained technician. They can test capacity and ensure cables and fuses remain safe.
- Request a written test report.
- Replace weak cells before failure.
- Review system grounding and protection.
Conclusion
Safe installation of JUST POWER BATTERY products depends on planning, correct wiring order, and thorough checks before full power‑up. Follow these simple steps every time you install or replace a battery.
By adding regular inspections and using the right charger, you protect your investment, avoid downtime, and keep your power system reliable for years.
Frequently Asked Questions about JUST POWER BATTERY
1. Do I need a professional to install JUST POWER BATTERY?
Small systems can be user‑installed if you follow the manual and basic electrical safety. For high‑capacity banks, hiring a licensed technician is strongly recommended.
2. How often should I check my battery connections?
Inspect connections at least once a month. Tighten any loose hardware and clean light corrosion to keep resistance low and prevent overheating.
3. Can I mix old and new batteries in the same bank?
Mixing is not advised. Different ages and capacities can cause imbalance, reduce total runtime, and stress both the old and new batteries.
4. What should I do if a battery case looks swollen or damaged?
Disconnect the battery safely, isolate it from the system, and contact the supplier or a technician. Do not pierce, open, or attempt self‑repair.